How-to
How to transcribe an existing audio or video file on iPhone
You already have a recording, maybe from Voice Memos, a dictaphone, or a video, and you want it as text with each speaker named. Fieldnoter can import that file and transcribe it on your phone, without sending it anywhere. This guide covers the five steps, from picking the file to exporting the finished transcript.
In this article
1. Open Fieldnoter and choose Import
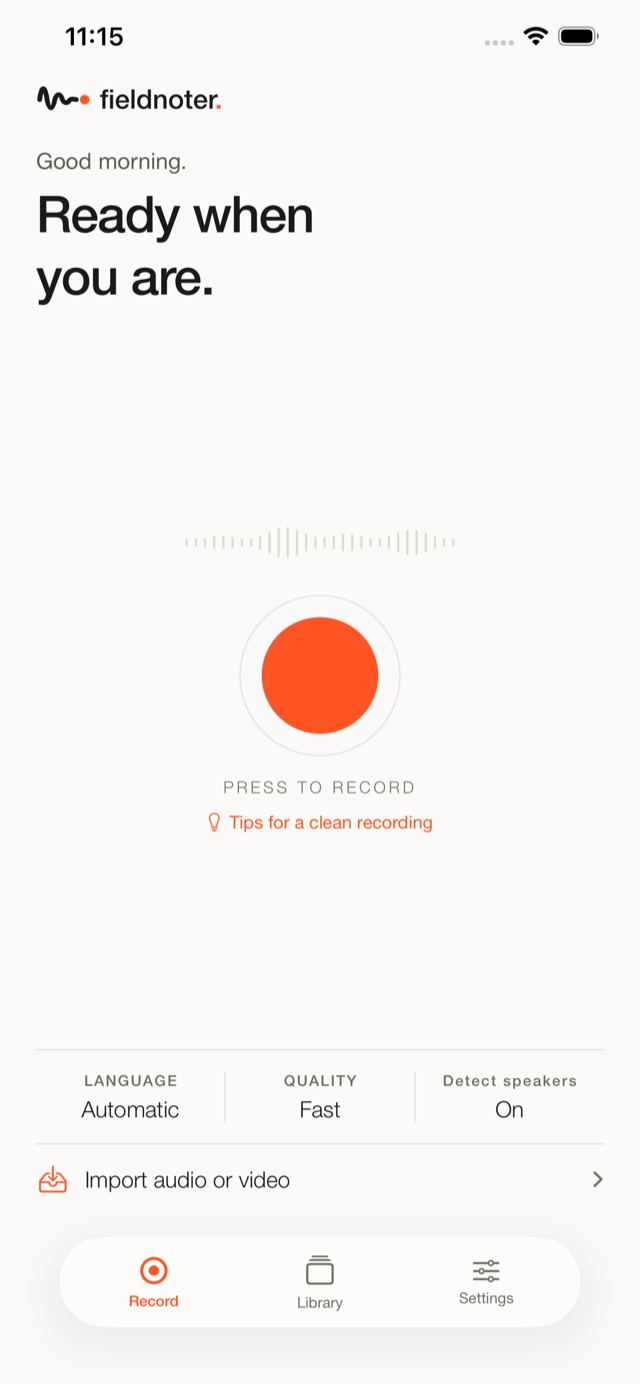
Open the app and choose Import instead of starting a live recording. There is no account to set up, so the app is ready as soon as it opens. On your first launch it downloads the speech model once. That is the only network call, and after it finishes the import runs offline.
2. Pick an audio or video file
The Files picker opens so you can find your recording. Browse to wherever the file lives and select it.
- Choose Import, which opens the Files picker.
- Browse to the recording, in Files, a cloud drive, or a folder you saved it to.
- Select the file to hand it to Fieldnoter.
You can also start from the other app. In Voice Memos or a recorder app, use the share sheet and pick Fieldnoter to send the recording across.
In the app
From import to transcript
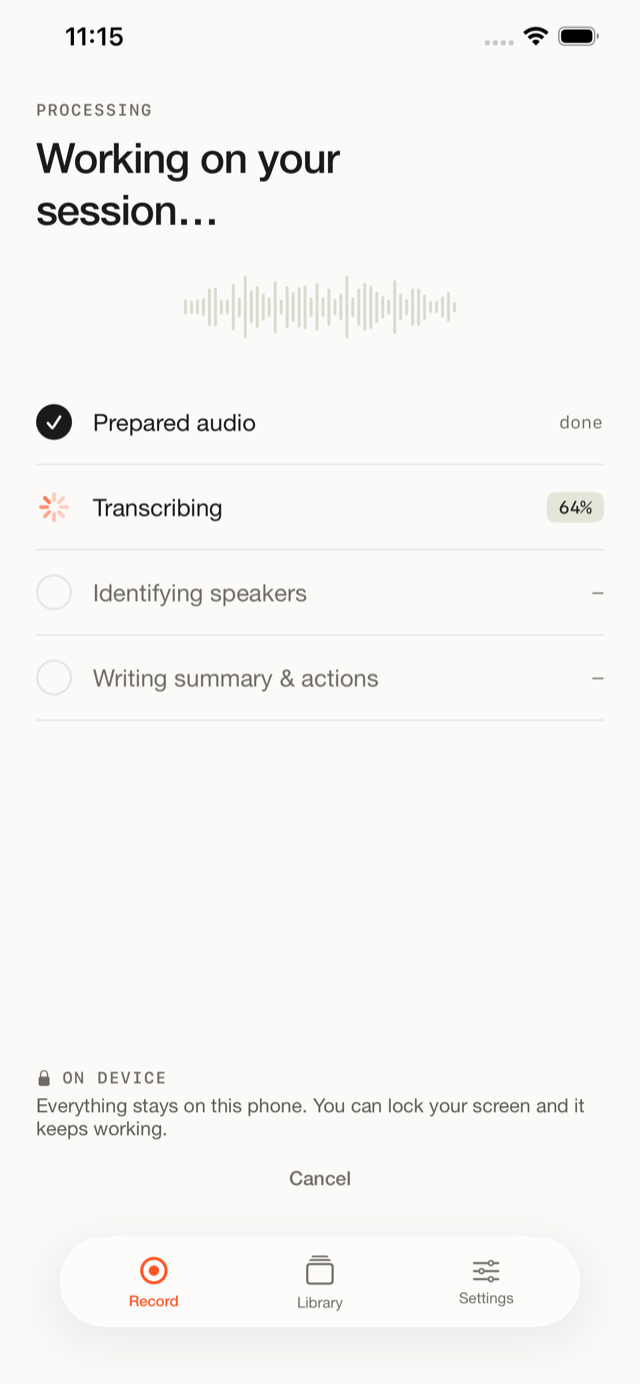
Choose Import from the home screen, let the file transcribe on the device, then read it back with speaker labels and a summary. The file never leaves the phone.
3. Let it transcribe on the device
Once the file is in, Fieldnoter turns it into text on the phone. The work runs on the Neural Engine, so a longer file takes longer to process and uses more battery. Nothing is uploaded. If you want to check that for yourself, import a file with the phone in airplane mode and watch the transcript appear anyway.
4. Label speakers and get a summary
Fieldnoter separates the voices and labels them as distinct speakers. Open the transcript, tap a label, and type the person's name. You do this once per person, and the name carries through the whole transcript. From the same screen you can get a short summary and pull out action items, all on the device.
5. Export the transcript
When the transcript is ready, export it in the format the next tool needs. Fieldnoter writes plain text and the common subtitle and data formats, so the file drops straight into an editor, a subtitle track, or a spreadsheet.
- TXT for plain text you can paste anywhere.
- SRT and VTT for subtitles with timestamps.
- JSON for structured data, and CSV for a spreadsheet.
Frequently asked questions
Which file formats are supported?
Fieldnoter takes both audio and video files. Common formats like m4a, mp3, wav, and mp4 work well. If a file will not import, it is usually an unusual codec, and converting it to one of those common formats fixes it.
Does importing upload the file anywhere?
No. The file is processed on your phone. Importing copies it into the app and transcribes it on the device. Nothing is sent to a server, and you can confirm that by importing with the phone in airplane mode.
Can I import a recording from another app?
Yes. Use the share sheet from another app, or the Files picker, to hand a recording to Fieldnoter. Voice Memos, a cloud drive saved into Files, and most recorder apps can pass a file across this way.
Is there a length limit?
There is no fixed cap we set. Long files work. A longer file takes longer to transcribe and uses more battery, because the work runs on your phone rather than on a server, so it helps to stay charged for a long recording.