How-to
How to record and transcribe a meeting on your iPhone
A clean written record of a meeting, with each voice named and a short summary at the end, is a few taps away on an iPhone, and the whole thing runs on the device. We built Fieldnoter to do that job without sending your audio anywhere. This guide walks through the five steps, from opening the app to getting your action items.
In this article
1. Open the Record tab
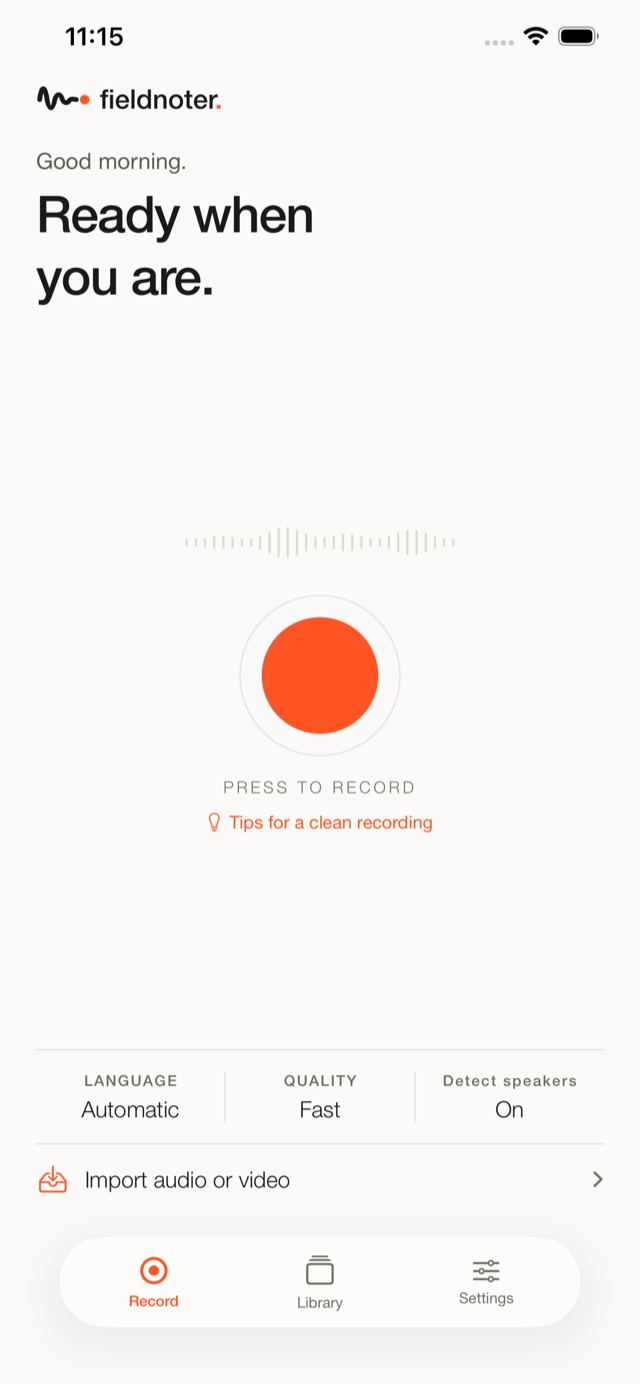
Open Fieldnoter and go to the Record tab. This is the home screen for a new capture. There is no account to create and no sign-in step, so the app is ready the moment it opens. If this is your first launch, the app downloads the speech model once. That download is the only network call, and after it finishes everything runs offline.
2. Start recording, or import a file
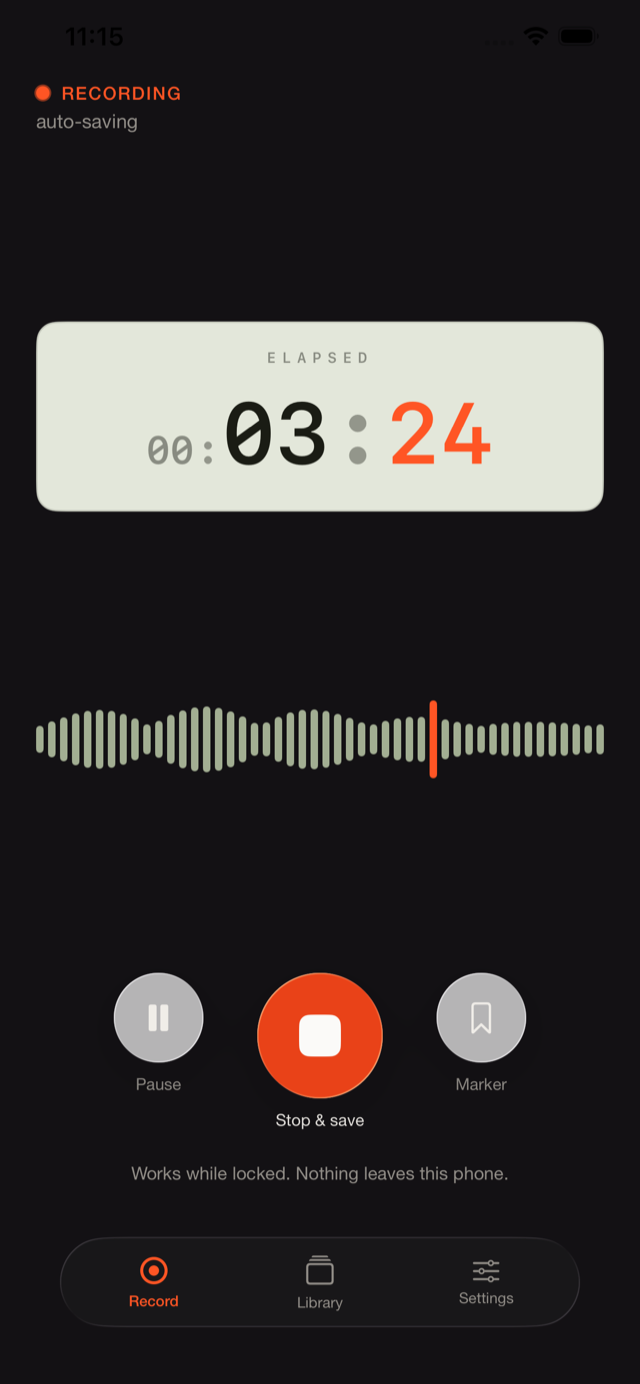
Tap the record button when the meeting starts. Fieldnoter captures the audio on the phone and shows a live waveform so you can see it is listening. You can lock the screen and set the phone down; recording continues.
- Tap record to start, tap again to stop.
- Set the phone on the table where it can hear the room.
- Already have a file? Choose Import instead and pick an existing audio or video recording.
In the app
What the three states look like
Record is idle until you start, shows a live waveform while it captures, then moves into on-device processing when you stop. No upload happens at any point.
3. Let it transcribe on the device
When you stop, Fieldnoter turns the audio into text on the phone. The first time you use the app it downloads the speech model, which takes a moment. After that the transcription runs offline, so you can do this in airplane mode and it still works. A longer recording takes longer to process, because the work happens on the Neural Engine in your phone rather than on a server.
4. Name the speakers
Fieldnoter separates the voices in the recording and labels them as distinct speakers. Open the transcript and give each one a real name. You only do this once per person in a recording, and the name then carries through the whole transcript and every export.
- Tap a speaker label in the transcript.
- Type the person's name.
- The name updates across every segment that speaker appears in.
5. Get a summary and action items
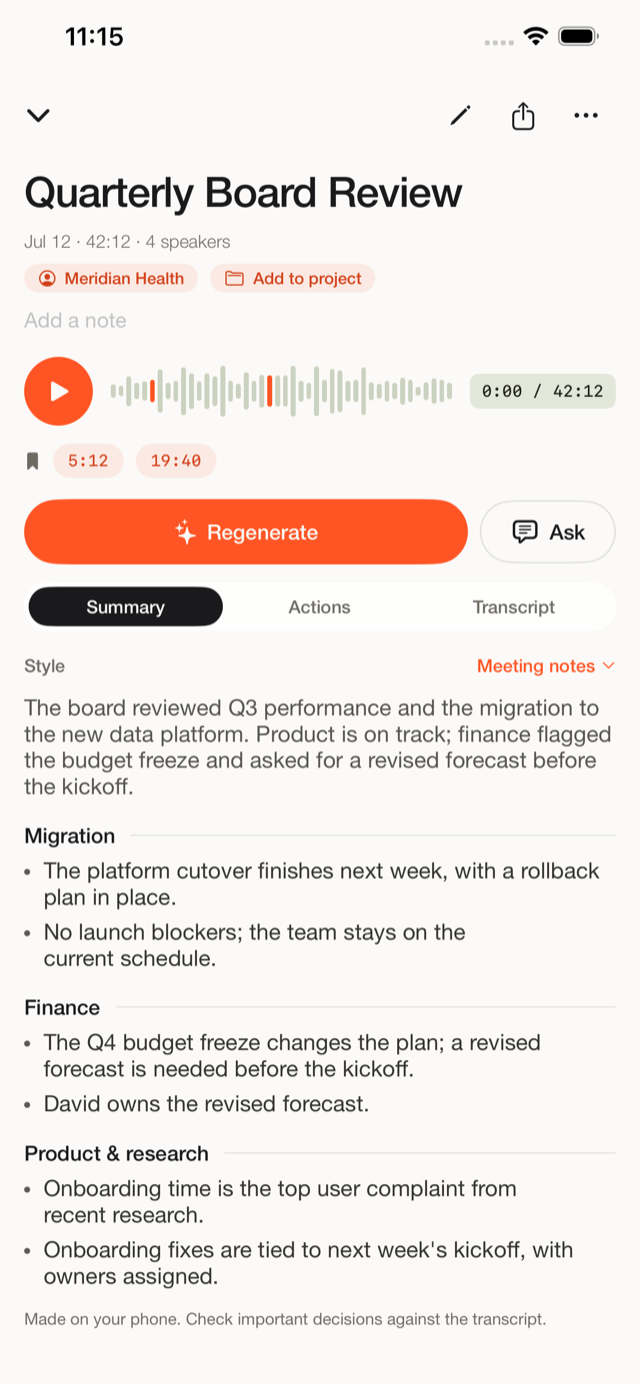
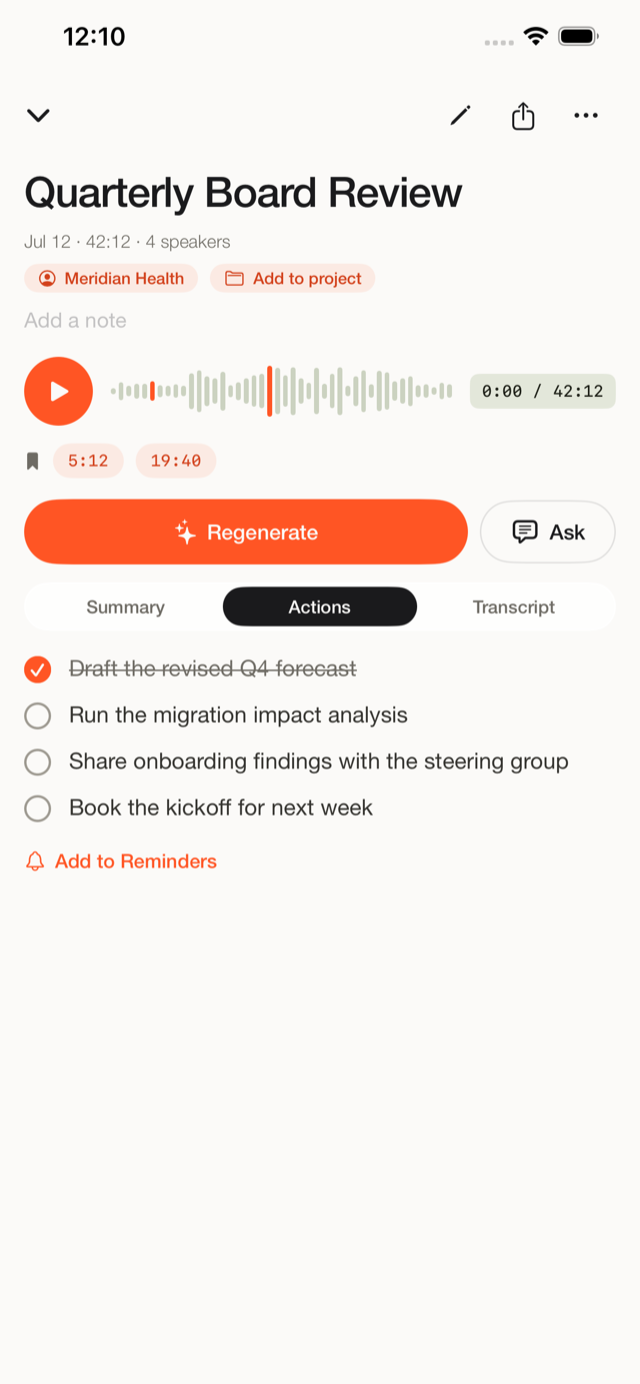
With the transcript ready, Fieldnoter can write a short summary and pull out the action items, all on the device. Send the action items to Reminders so they land on your task list. When you need the raw text for another tool, export the transcript to TXT, SRT, VTT, JSON, or CSV.
Frequently asked questions
Does it work without internet?
Yes. After a one-time model download when you first set up the app, recording and transcription run on the device. Put the phone in airplane mode and it still works, because nothing depends on a server.
How long can a recording be?
There is no fixed cap we set. Long recordings work. Keep in mind that a long session takes longer to transcribe and uses more battery, because the work happens on your phone rather than on a server. For a multi-hour recording it helps to keep the phone charged.
Can I record while the screen is locked?
Yes. Recording continues while the screen is locked, so you can start a session and put the phone down. The app shows a works-while-locked state so you know it is still capturing.
Where is the recording stored?
On the device, inside the app. The audio and the transcript stay on your phone, behind Face ID if you turn on the app lock. There is no account and no copy on a server.